Social media is a hot mess of a struggle to keep consistent, and every business owner knows it. It doesn’t matter what you do, if you’re handling social media for it… UGH. At the end of the day though, it’s necessary to get yourself out there, whether you own a yoga studio, or you’re a realtor.
I personally like to keep my own social media processes simple, because if something isn’t simple, I’m way less likely to actually do it. (It’s a little brutal, but honest. I just… lose interest in things that can’t be FAST!)
So I’ve put together a process that’s simple, using SIMPLE tools, to make sure that content gets out there! And I want you to be able to use it too!
It’s broken down into some SUPER basic steps, using my favorite platforms, so that I can spend more time doing the things I LOVE, and less time doing the things that are just… not quite as fun.
Step 1: Pick your topics
The first thing you’re going to want to do when you’re prepping a week of Instagram posts, is figure out what you’re going to talk about. This is the first step because everything else is based on it! You don’t have to write out the posts themselves at this point unless that feels like it’ll work well for you.
I recommend writing a little list. If you’re blogging for your business, try to make sure that some (or all!) of the posts are related to the blog posts you’ve been writing. That’ll help keep things consistent! And it takes out some of the work, because you’ve already got starting points for the written portion of the Instagram post.
If you’re not blogging, no problem! Just pick things that you know the audience for your business needs to hear about. If you’re booking appointments, tell them! If there are questions you regularly get from clients – talk about those. And if you’re a creative, think about featuring your work. And no matter what, it’s always a good idea to throw client testimonials in there every once and a while!
For a week’s worth of content on Instagram, you should plan to post to your grid anywhere between 4-7 times. So write a list that lines up with the number of posts you plan on putting up! As a pro-tip: I recommend making sure you’ve labeled whether the post is going to be a single image, a carousel, or (gasp) a reel!
Step 2: Pick your photos
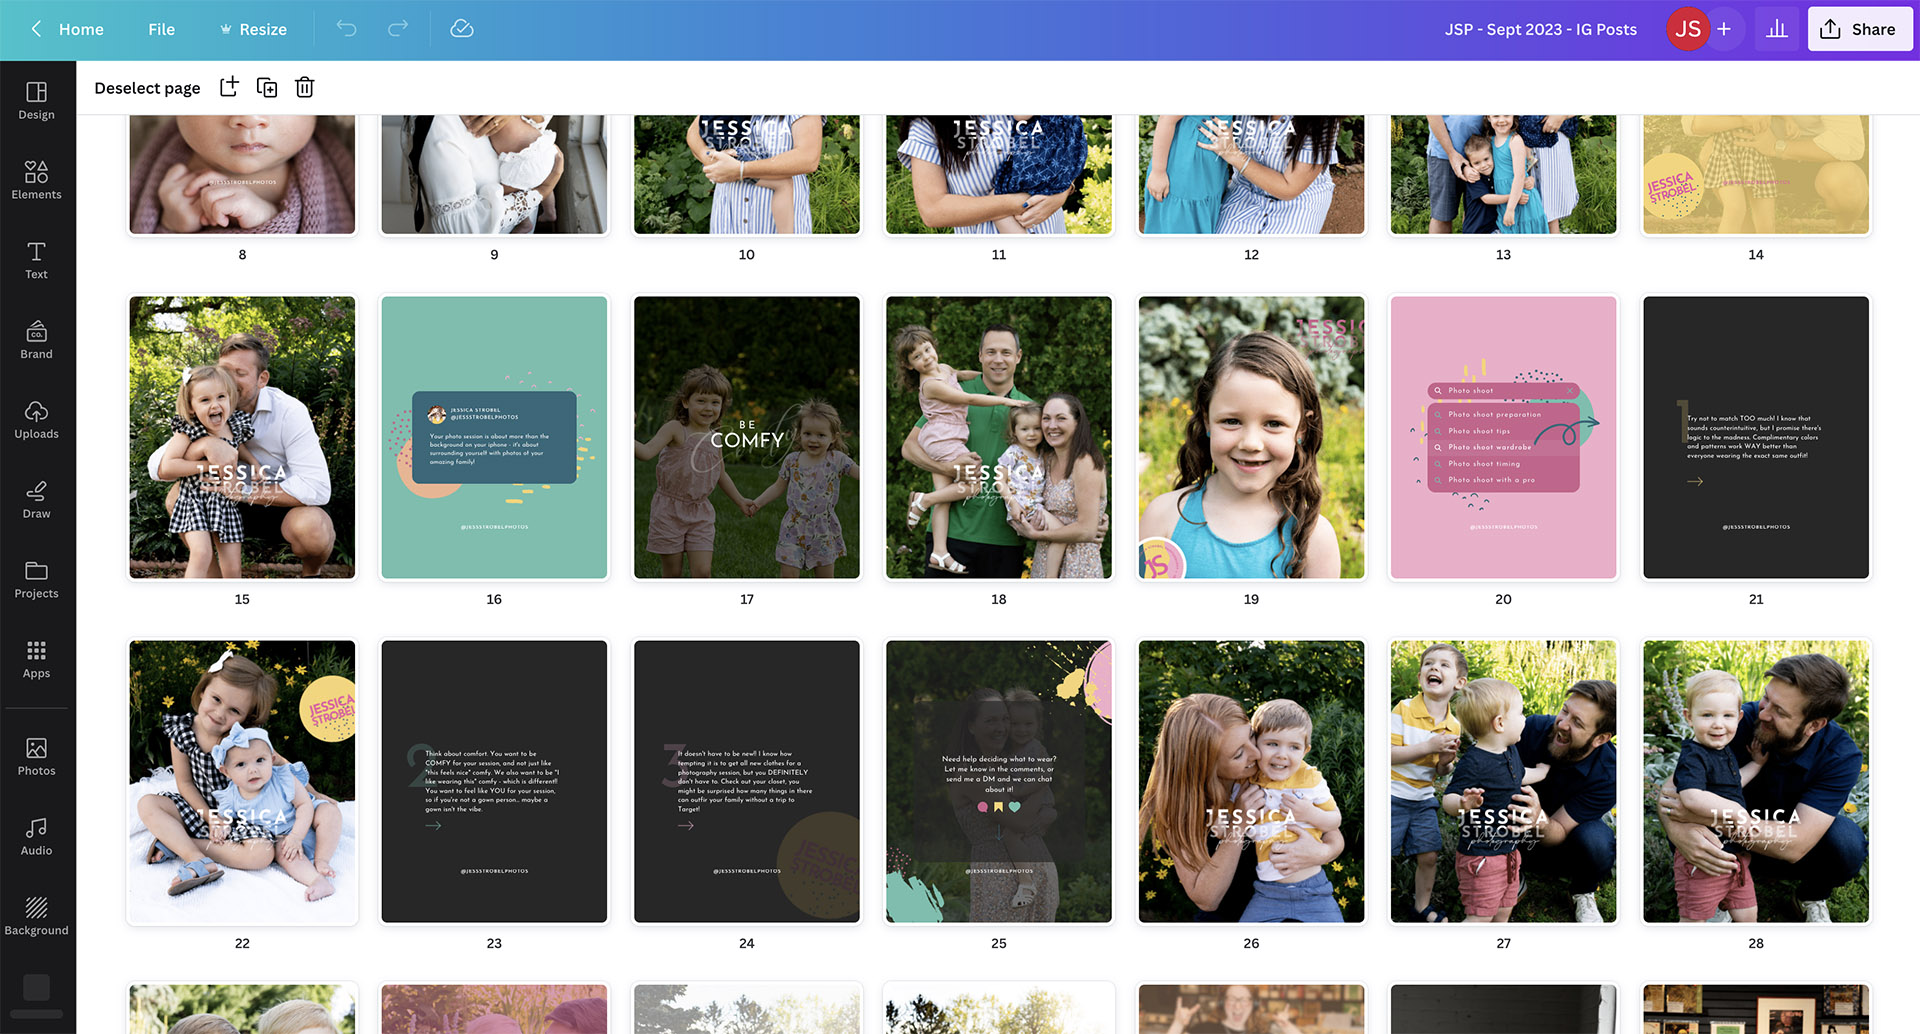
This is my favorite step – and it doesn’t matter what you do, you’re gonna need photos. I mean, there are SOME exceptions, like if your business is 100% based in sharing info, in which case you could get away with only posting info-based content in a carousel style. But even then, it’s likely going to work better if you get some images in there for variety! (And to grab people’s attention).
So step two, involves choosing pictures! You can choose stock photos on the platform we’re going to be using next (CANVA, WHICH IS THE BESTEST) or, you can go through the brand images you’ve had done most recently. (And of course, if you NEED brand images done… I’m your gal.) Try to make sure the pictures are related to the topics you chose above. And remember, don’t skip the reels! They’re going to need covers, and unless you plan on choosing a frame from the reel itself, you’ll want to make that in our next steps too.
Step 3: Get designing!
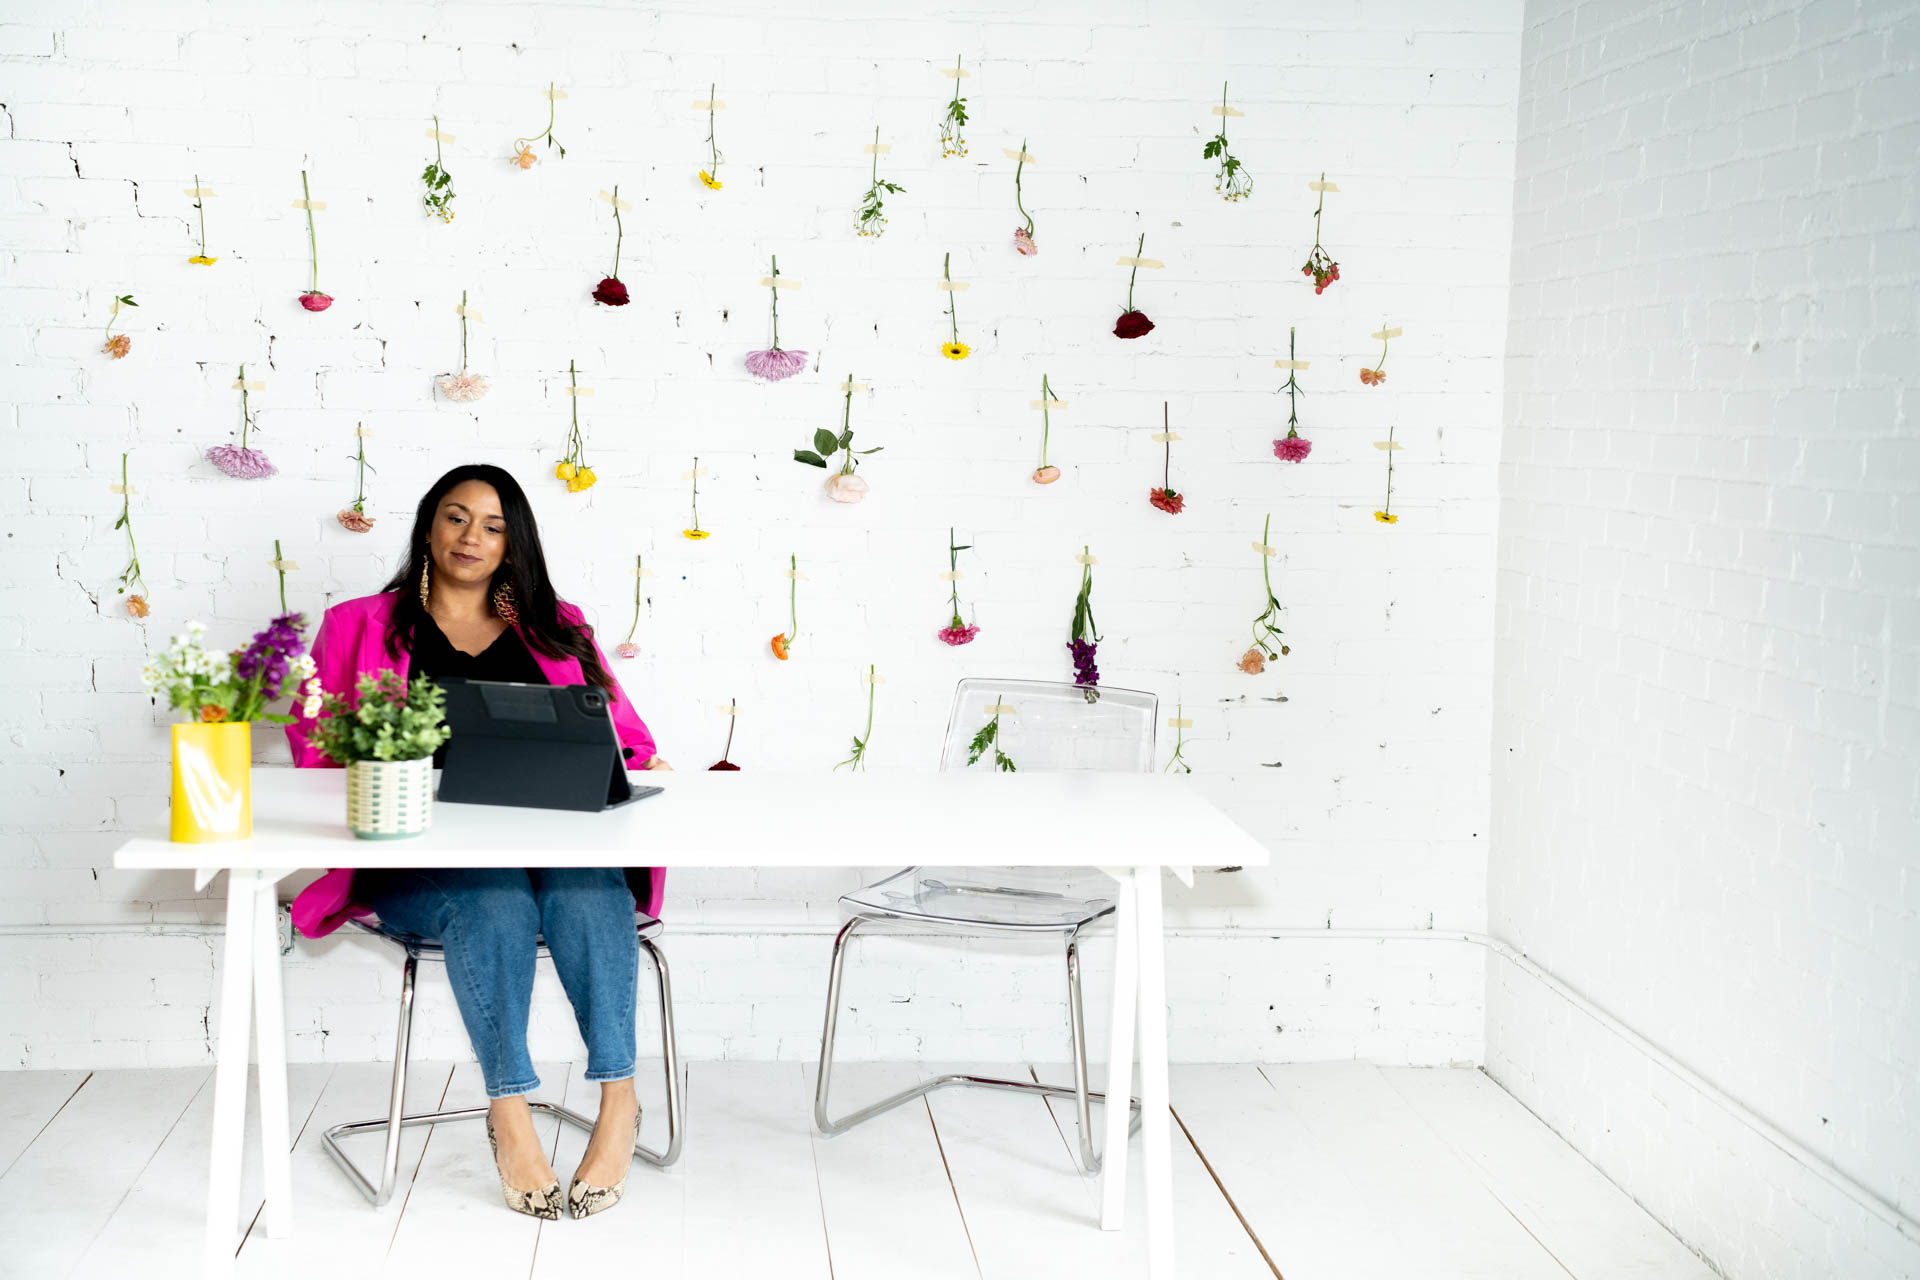
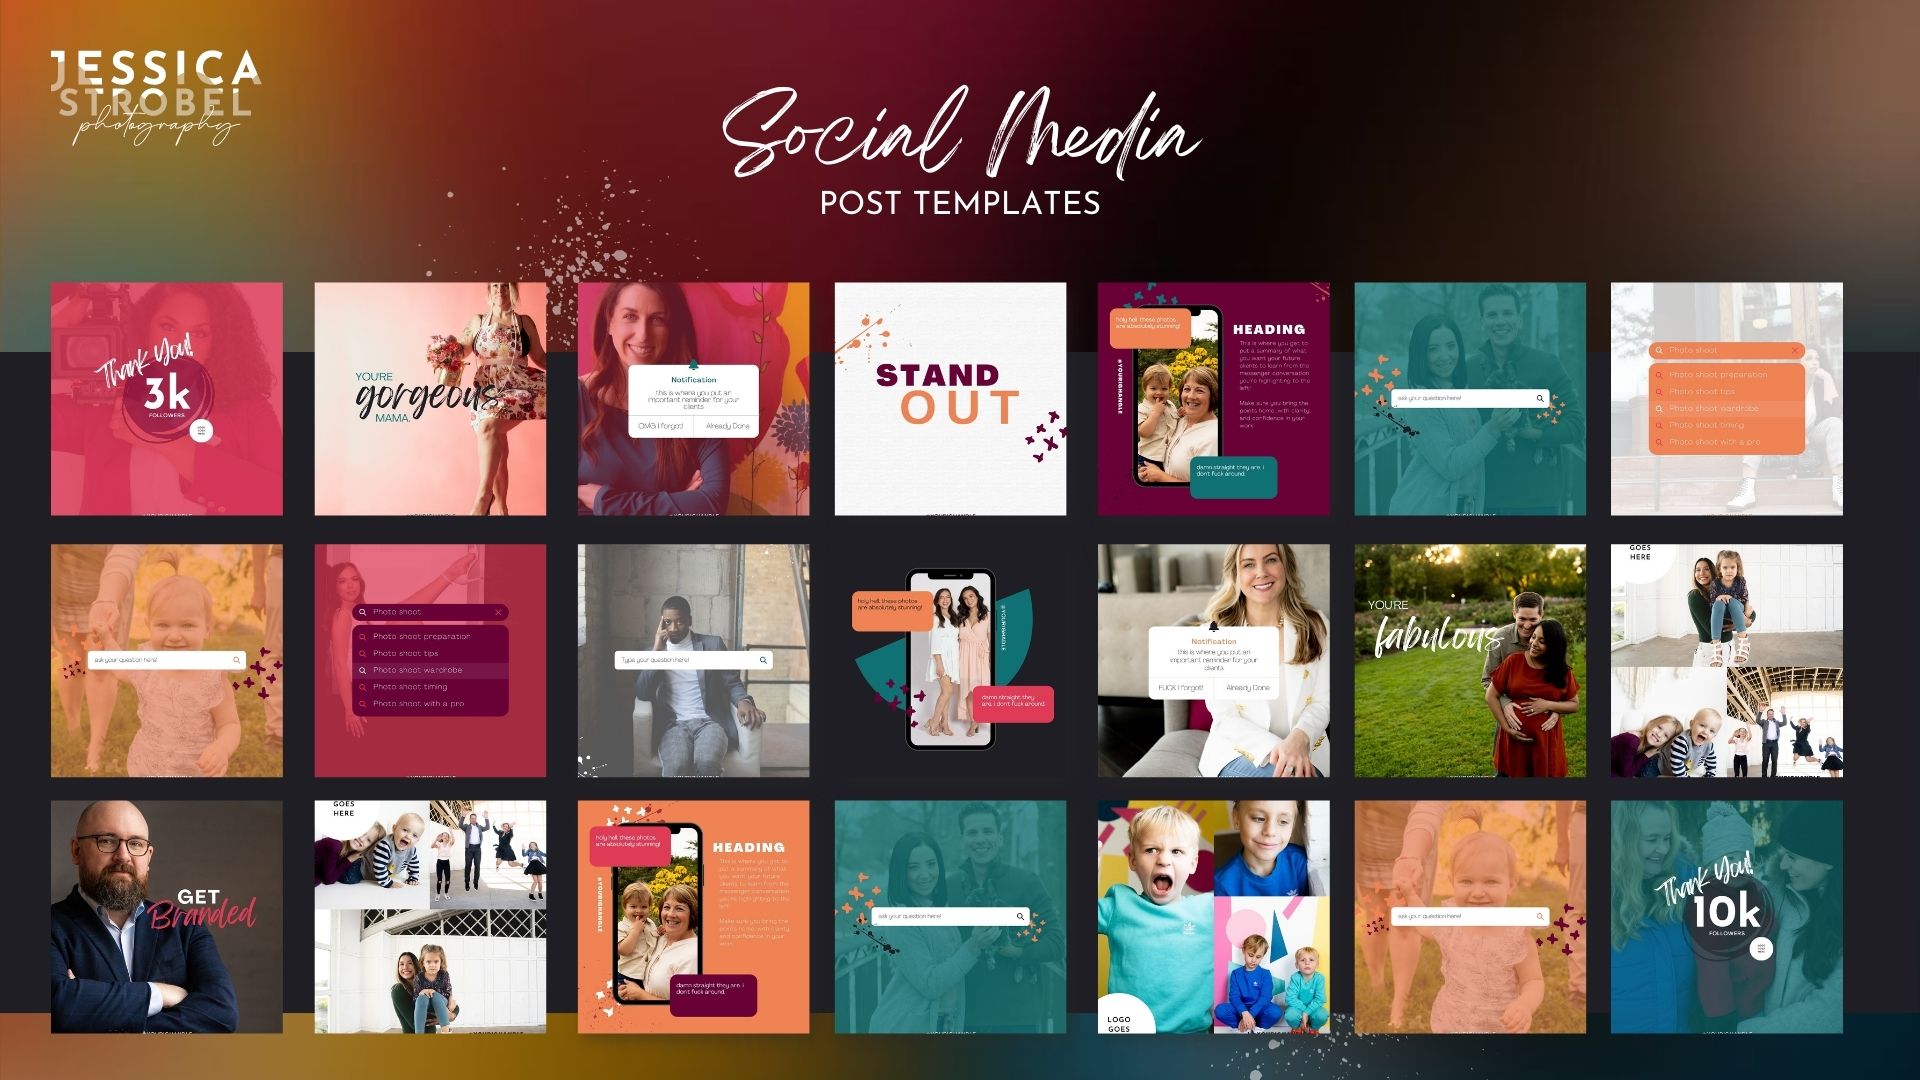
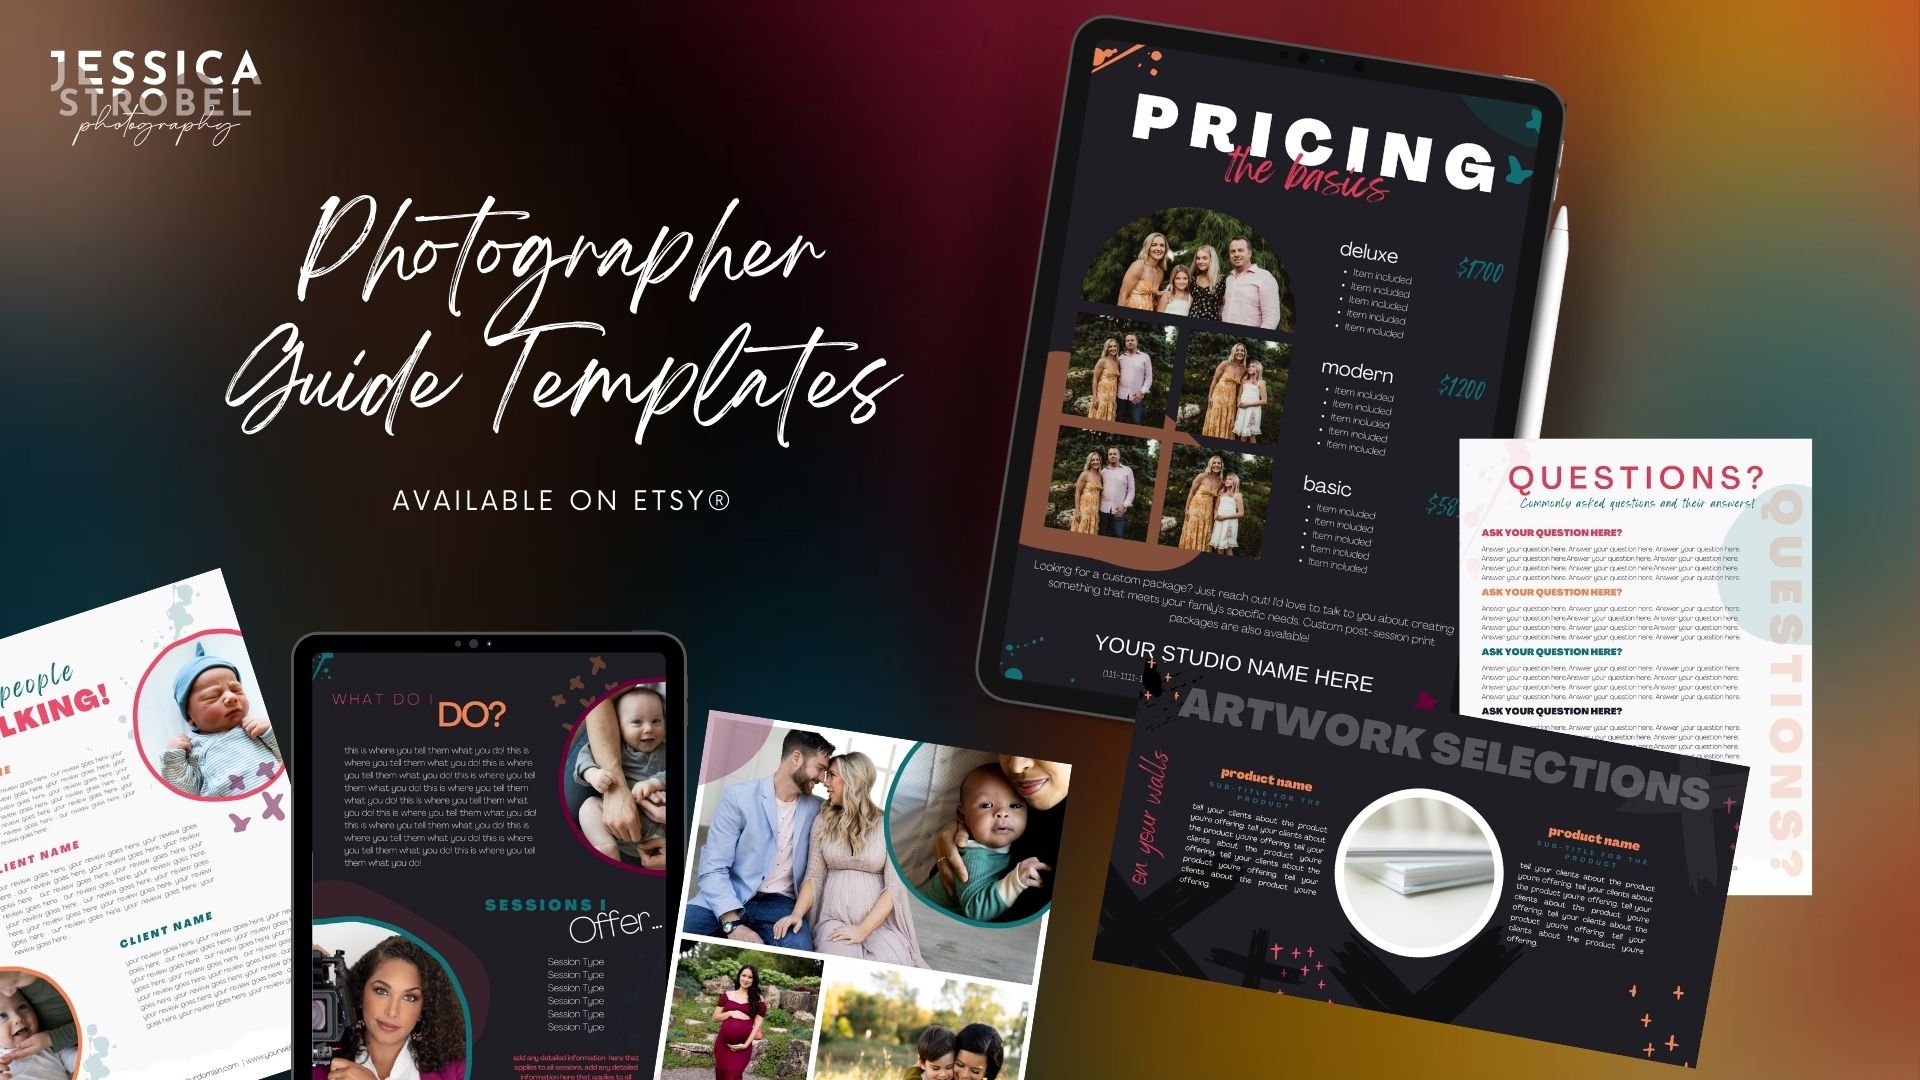
This is when we get into Canva properly. Now, if you don’t have a solid process for working with Canva, it can take AGES, so listen up. I recommend starting with templates – I’m SO into them that I actually offer sets myself, so that you can get started! But that being said, there are TONS of template sets available on Etsy, and even for free through Canva itself.
Whether you’re starting the easy way with a pack by me or another creative, or you’re collecting templates yourself to use, start. With. Templates. It’s just going to make your life easier, and there’s NO SHAME in it.
It’s super easy for (especially creative) business owners to think that using templates is cheating, or it’s going to make your content look like everyone else’s. But as long as you’re making changes to the template, and you’re using your own unique branding applied to them – you cannot go wrong with NOT reinventing the wheel. Your job is doing what YOU love. Not making social media designs. That’s why designers exist. (I’m really into the blunt honesty today, huh??)
Anyway, create a document for yourself, using Canva’s “Instagram Post (Portrait)” design style.
PRO TIP: Using portrait takes up more space on the scroll through your follower’s home feed, and means that they’ll be focused on your content when they land on it!
Once you’ve selected your 4-7 templates, and popped them onto your post document, it’s time to add in your images, and any text you want to put on the posts. Remember, keep things varied!
Step 4: This is when we write!
Once you’ve got your topics, your images, and your designs, it’s time to write the full posts that go with them. Now, you can prep them ahead, and be all fancy, but in all honesty… I actually do this STRAIGHT in Meta Business Manager.
It’s faster, it requires less copying and pasting, and it means I can essentially skip steps.
There are TONS of social scheduling apps on the market, but Meta Business Manager is direct for Instagram and Facebook, and lets you do double-duty with your content, since you can schedule to both at once! It also doesn’t throttle posts (like some scheduling apps have been shown to do) and it lets you choose the location you want to associate with the post, too.
Basically… it’s the easiest, most streamlined… and remember what I said about keeping things simple? Yeah.
So when it comes to writing, this is actually when you go ahead and put it all together to schedule!
All you have to do, is go get into Meta scheduler, make a new post, assign it to a date, enter your content… and click schedule. Yes, it IS that easy.
Once you’ve clicked schedule… you’re done! Just make sure you take a tiny bit of time each day to do engagement around the time your posts are going to go up. And, keep an eye on your analytics, too!!
I know I make it sound easy…
But it CAN be easy!!
You don’t have to spend hours and hours and hours handling your social media, it doesn’t have to feel like a whole second job for you.
And if you want a starting point for those Canva designs… go check out what I have available on Etsy and Creative Market!


0 Comments